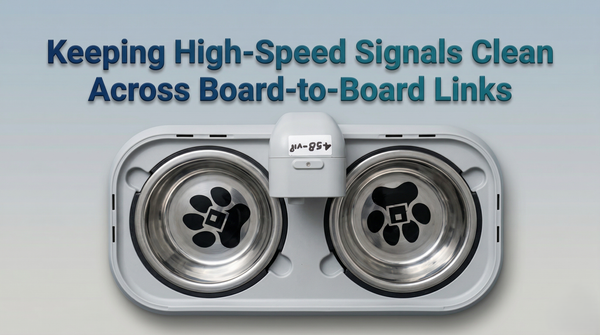
Building The Everbowl: Hybrid Manufacturing at Small Scale
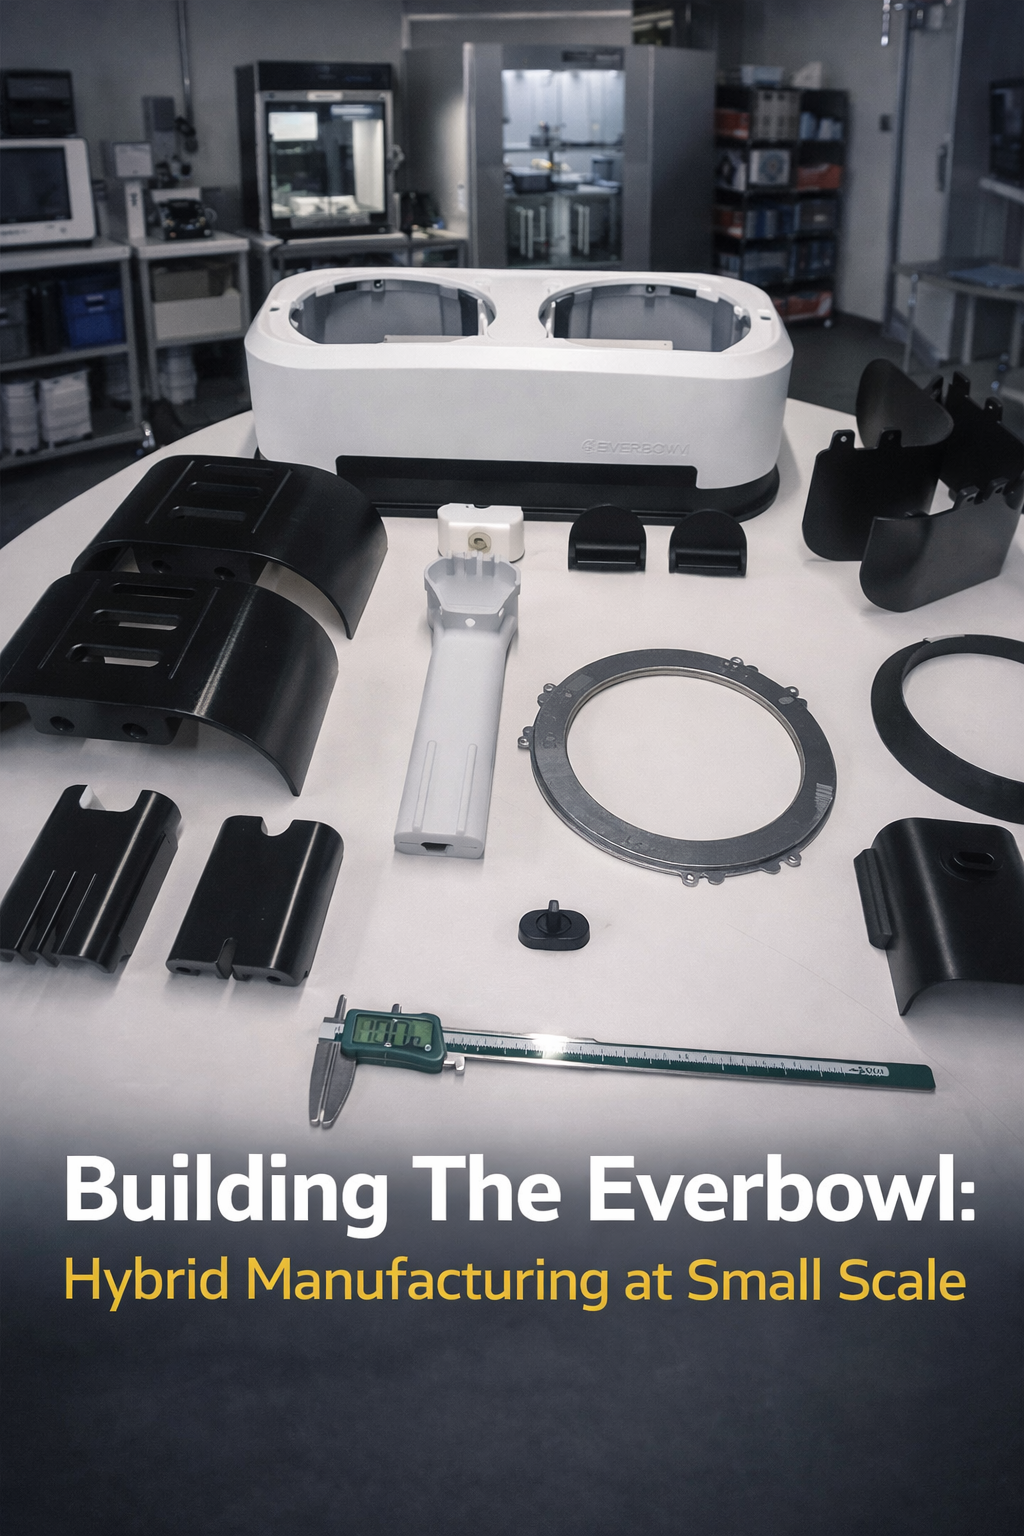
Manufacturing the first 25 complete units of a hardware product is a unique challenge. You’re far past rough prototyping, but not yet ready for the cost and rigidity of mass production. At this stage, success depends on choosing manufacturing processes that deliver repeatability, functional reliability, and visual quality—without locking the design too early.
For Everbowl, this meant combining vacuum casting, FDM, SLA, and sheet metal laser cutting, followed by inserts and painting. The device integrates aluminum load-bearing rings, load cells, and plastic housings, requiring tight mechanical alignment and consistent assembly across all units.
This blog walks through how we built 25 Everbowl devices using a hybrid manufacturing strategy, why each process was chosen, and what we learned by actually assembling and testing real units—not just designing them.
Understanding the System: What Everbowl Needed
Everbowl isn’t just an enclosure—it’s a measurement system. This meant the manufacturing approach had to satisfy multiple constraints at once:
- Rigidity for accurate load sensing
- Tight tolerances between metal and plastic parts
- Durable, repeatable screw joints
- A finish suitable for real-world use and demos
No single process could handle all of this well. The solution was intentional hybridity.
Why a Hybrid Manufacturing Approach Was Essential
For a 25-unit build, traditional options fall short:
- Injection molding: Too expensive and inflexible
- Pure 3D printing: Inconsistent finish and mechanical behavior
- Full CNC machining: Costly and slow for complex plastics
Instead, we mapped each part of Everbowl to the process best suited for its role:
- FDM and SLA for iteration and precision
- Vacuum casting for repeatable plastic parts
- Sheet metal laser cutting for structural accuracy
- Inserts and paint to enable durability and perceived quality
This allowed us to scale just enough—without overcommitting.
FDM Printing: Fast Iteration and Structural Validation
We started with FDM (Fused Deposition Modeling) for early and mid-stage plastic components.
Why FDM Still Matters at 25 Units
Even at this scale, FDM was invaluable for:
- Validating enclosure geometry
- Checking clearances around electronics and fasteners
- Testing assembly order
- Creating master patterns for casting
FDM gave us the confidence to lock geometry before scaling it across multiple units.
Material Choices: PLA and ABS
We used PLA and ABS strategically, not interchangeably.
PLA
- Excellent dimensional stability
- Easy and fast to print
- Ideal for early validation and non-structural parts
ABS
- Better heat resistance
- Higher impact strength
- More representative of final-use plastics
Using both materials allowed us to balance speed with realism.
SLA Printing: Precision Where It Mattered Most
For components requiring high accuracy and fine detail, we used SLA (Stereolithography).
Why SLA Was Necessary
SLA was chosen for:
- Parts with tight tolerances
- Features interacting with sensors or electronics
- Small components where surface finish affected fit
Compared to FDM, SLA provided:
- Smoother surfaces
- Higher dimensional accuracy
- Better feature resolution
These parts often served as interfaces—where small errors could propagate into system-level issues. We had to opt this method in our main wand head, where our major sensing equipments are housed.
Vacuum Casting: Consistency Across 25 Units
Once designs stabilized, we transitioned key plastic parts to vacuum casting.
Why Vacuum Casting Fit This Stage Perfectly
Vacuum casting offered:
- Injection-mold-like surface quality
- Uniform material behavior
- Economical small-batch production
- Reliable repeatability across 25 sets
For Everbowl, vacuum casting was the bridge between prototype and production.
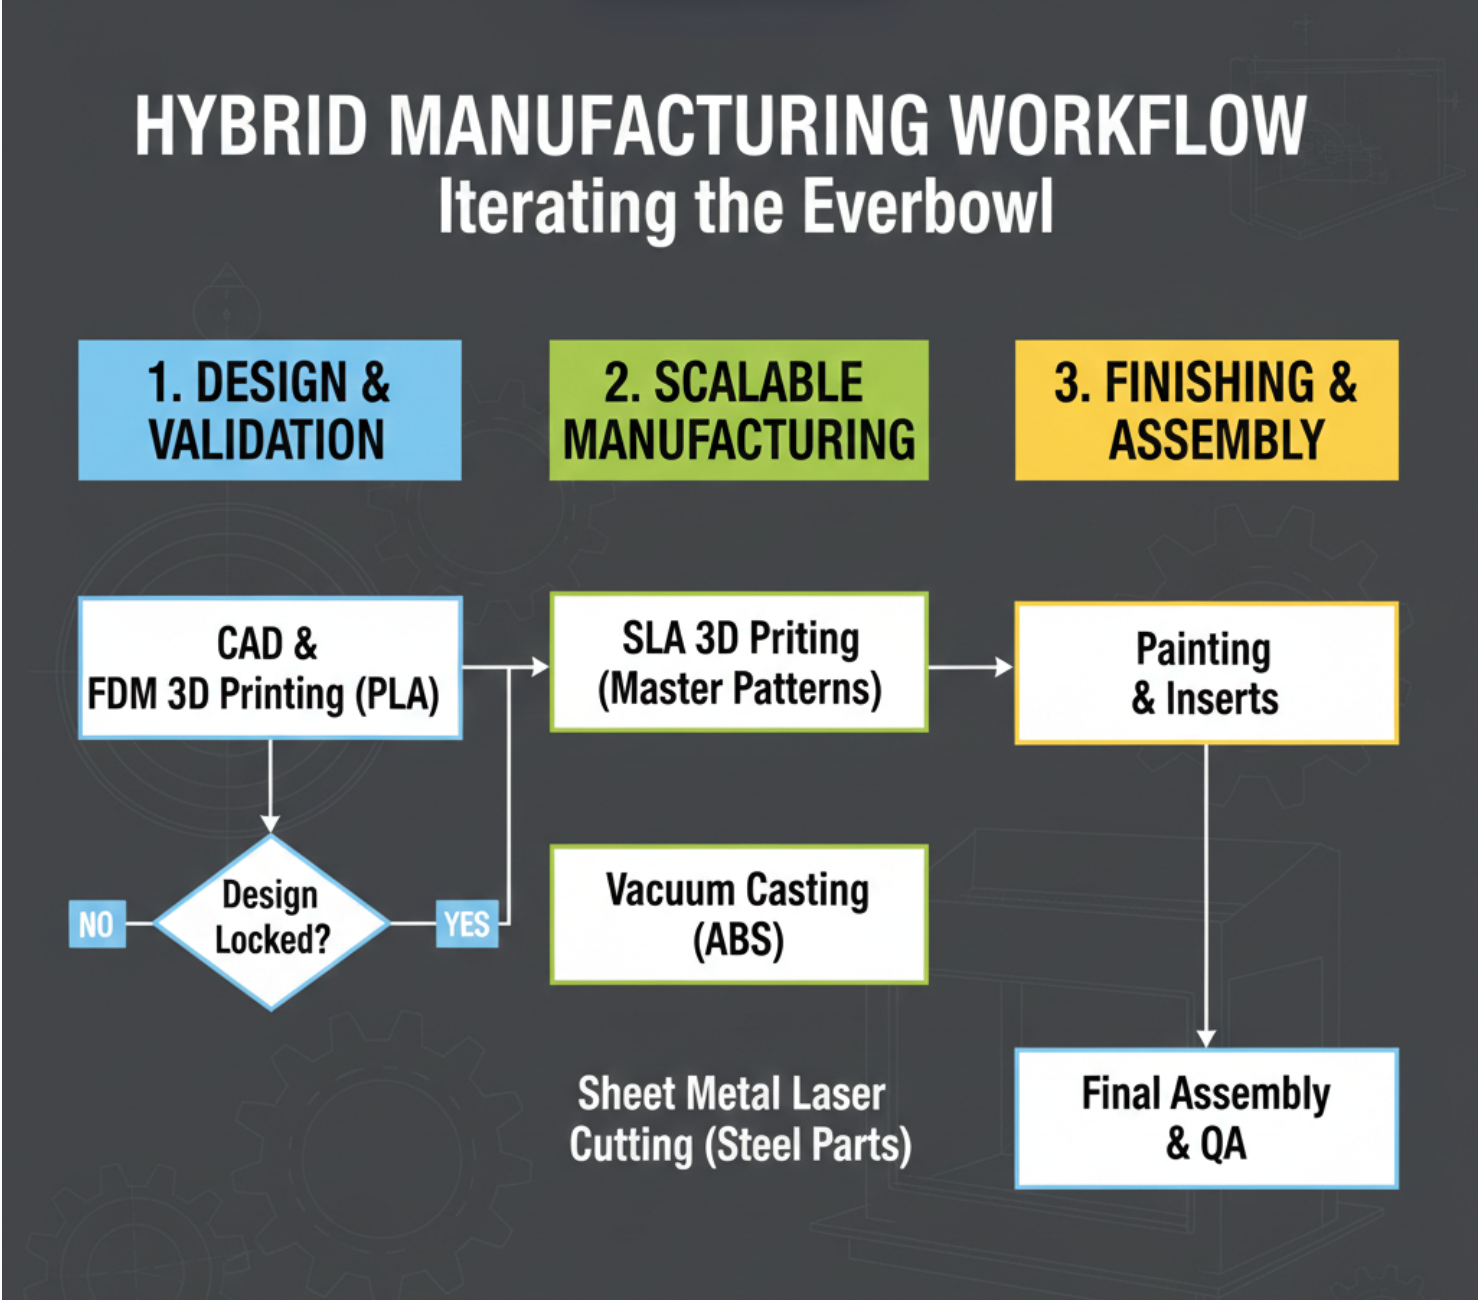
From Printed Masters to Silicone Molds
The workflow looked like this:
- Print master parts (SLA)
- Sand and seal surfaces
- Create silicone molds
- Cast ABS-like resins under vacuum
The quality of the master defined the quality of every subsequent part—so this step was treated with care.
Sheet Metal Laser Cutting: The Backbone of Measurement
The most critical mechanical elements in Everbowl are the aluminum sheet metal rings that interface with the load cells.
Ring Design and Function
- Bottom ring
- Laser-cut aluminum
- Fixed rigidly to the plastic body
- Provides a stable reference
- Top ring
- Laser-cut aluminum
- Supports the dog food bowl
- Moves slightly under load
- Load cell
- Sandwiched between the two rings
- Measures weight change as the dog eats
This architecture requires:
- High stiffness
- Precise alignment
- Minimal flex outside the load cell path
Aluminum Thickness Selection
We used:
- 2 mm aluminum for lighter, non-critical elements
- 2.5 mm aluminum for load-bearing and alignment-sensitive rings
These thicknesses struck a balance between:
- Structural rigidity
- Weight control
- Ease of laser cutting and handling
Laser cutting ensured each ring was dimensionally identical, critical for consistent sensor behavior.
Threaded Inserts: Designing for Repeated Assembly
Repeated assembly was unavoidable—during testing, painting, servicing, and iteration.
Why Inserts Were Non-Negotiable
Self-tapping screws would have:
- Degraded plastic over time
- Introduced torque variability
- Reduced long-term reliability
Instead, we designed all critical joints with threaded inserts.
Benefits:
- Consistent clamping force
- Reliable disassembly and reassembly
- Improved perceived quality
- Better load distribution
Inserts were used across:
- Vacuum-cast plastic parts
- ABS FDM components
- Interfaces with aluminum structures
Painting: Making the Device Feel Real
The moment a device is seen, it begins to explain itself. Exposed materials tell a story of experimentation; finished surfaces tell a story of intent.
Painting was not applied to make Everbowl look better—it was applied to make it feel finished. It unified disparate materials, softened the rough edges of early manufacturing, and marked the transition from exploration to execution.
That single step changed how the device was received in demos, how early users interacted with it, and how confidently it stood as a product—not just a prototype.
Assembly at 25 Units: Reality Check
Building one unit proves feasibility. Building 25 proves repeatability.
Assembly validated:
- Tolerance stack-ups
- Insert placement accuracy
- Load cell alignment consistency
- Structural rigidity under real use
Issues that were invisible at single-unit scale became obvious—and fixable—at 25.
What This Manufacturing Strategy Enabled
By combining FDM, SLA, vacuum casting, sheet metal laser cutting, inserts, and painting, we achieved:
- Production-like quality without tooling
- Consistent sensor performance across units
- Reliable mechanical assemblies
- Confidence to move toward larger-scale production
Most importantly, we gained real data about how Everbowl behaves as a physical system.
Hoomanely
At Hoomanely, the mission is to build technology that works with humans—and animals—in the real world. Everbowl’s manufacturing journey reflects this philosophy.
By choosing flexible, human-centered manufacturing methods, we allowed the design to evolve through real interaction, not assumptions. The hybrid approach ensured that what we built could be assembled, used, serviced, and trusted—strengthening Hoomanely’s technology stack and reinforcing our belief that good systems are shaped through reality, not abstraction.
Everbowl’s journey shows that scaling thoughtfully beats scaling quickly—especially when precision, reliability, and trust matter.