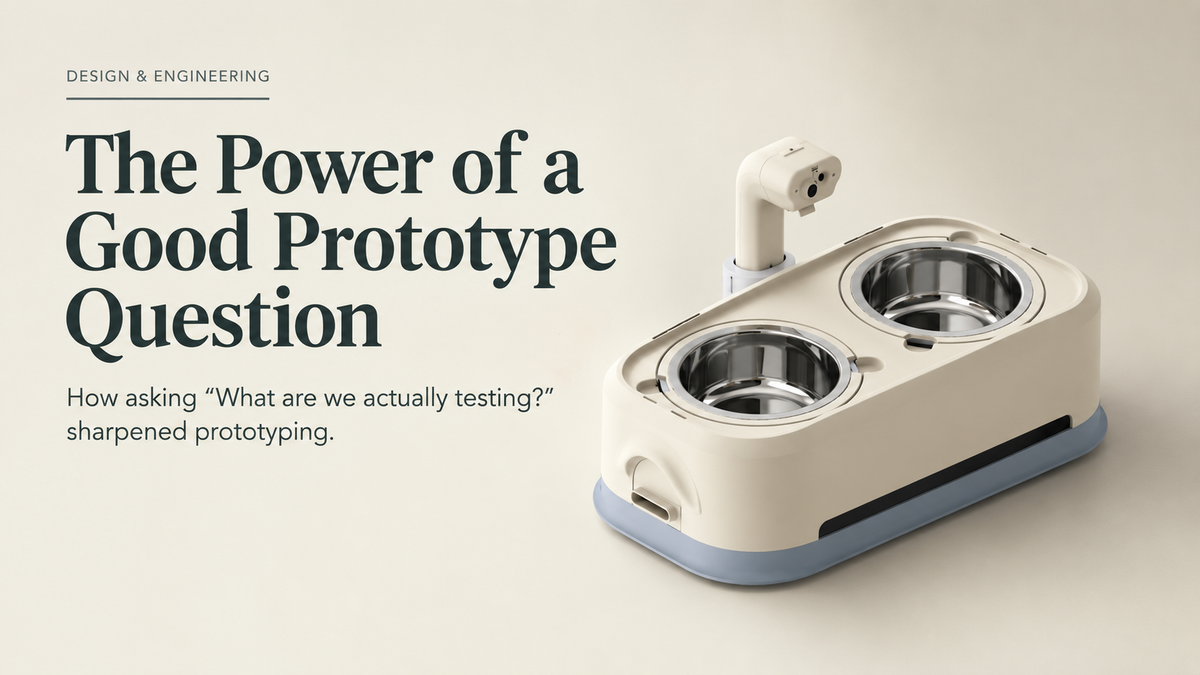
The Power of a Good Prototype Question
How asking "What are we actually testing?" made Everbowl prototypes more focused, faster, and more useful.
Introduction
A prototype is easy to build. A useful one is a lot harder. Working on Everbowl taught us that a prototype's value has nothing to do with how close it looks to the finished product. It becomes valuable the moment you know exactly what question it's supposed to answer.
Early hardware development has a way of turning into an endless cycle of slightly more polished versions of the same thing: a refined enclosure, better-packaged electronics, cleaner surfaces, without necessarily learning anything new from the last build.
We started asking a different question before building anything. Instead of "what should we build next?", it became "what are we actually trying to learn?" That one shift changed how we approached mechanical architecture, load sensing, camera integration, manufacturing, and eventually the move toward a more finished Everbowl.
Prototype vs. experiment
A prototype and an experiment aren't automatically the same thing. A prototype is a physical version of an idea. An experiment is built to answer a specific question. That distinction matters a lot in hardware, where iteration is expensive: a CAD change might take hours, fabricating a mechanical part can take days, and a full assembly can mean machining, printing, electronics, paint, and assembly all at once. If a build doesn't answer a real question, all of that effort barely moves engineering knowledge forward.
Take a simple example: we want to know whether a bowl can be weighed accurately using a load-cell structure. There are two ways to approach that first build.
Approach A: prototype the product. Build the complete enclosure, a final-looking bowl, electronics, sensors, painted housing, full assembly, then test whether the system works.
Approach B: prototype the question. Ask whether the mechanical load path can produce stable weight measurements when the bowl is loaded at different positions. The prototype can be far simpler here. The goal isn't making Everbowl look finished. It's isolating the load path and learning how it behaves.
That distinction alone can save an entire development cycle.
The question defines the prototype
A good prototype starts with a question, specific enough that the answer can actually change the next design decision.
| Question | Prototype focus | Learning |
|---|---|---|
| Can the load be measured accurately? | Load-cell ring assembly | Load distribution |
| Does bowl position affect measurement? | Off-center loading setup | Position sensitivity |
| Can the enclosure accommodate electronics? | FDM housing | Packaging constraints |
| Does the camera work behind the enclosure? | Sensor + optical window | Optical crosstalk |
| Can the product survive repeated assembly? | Insert-based joints | Fastener reliability |
| Can multiple units be manufactured consistently? | Small-batch build | Process variation |
That reframes what success even means. A prototype doesn't have to work perfectly. It has to answer the question it was built for.
What we were actually testing with Everbowl
Everbowl ended up being a combination of several engineering systems: weight sensing, mechanical structure, camera sensing, electronics, user interaction, enclosure, and manufacturing. Trying to validate all of that at once would have made debugging nearly impossible, so individual prototypes were built to isolate different risks instead.
This mattered most around the weighing system. A load-cell assembly looks mechanically simple on paper: a top ring, a bottom ring, a sensor in between. But its actual behavior depends on load position, ring stiffness, fastener preload, alignment, contact conditions, bending moments, and structural deflection, and a prototype that isolated just the ring assembly could answer questions about all of that far faster than a fully packaged Everbowl could.
Prototype 1: is the mechanical concept viable?
The first question for a lot of hardware systems is simply whether the fundamental architecture works. At this stage, aesthetics are a distraction. For a weighing system, the prototype needs to establish whether the mechanical structure can actually transfer load through the intended sensing path, which is exactly where simplified rings, spacers, load cells, and temporary fixtures are worth more than a beautifully finished enclosure.
The measurements that mattered here: applied load, individual load-cell response, total measured load, off-center response, deflection, and repeatability. The output wasn't a product. It was evidence.
Visual suggestion 1: prototype question map
A simple flow: engineering question → prototype → measurement → learning → design decision. Example: "Does bowl position affect weight?" → two-load-cell ring prototype → measure LC1 + LC2 at multiple positions → determine position sensitivity → modify load path or calibration strategy. Caption: Each prototype should exist to reduce one specific engineering uncertainty.
Prototype 2: what happens when reality enters the model?
Once the basic architecture worked, the next question got more realistic: does the system behave the same way when the load is applied the way it actually would be in use?
This is where things got interesting. A dog doesn't place food at the mathematical center of a bowl. The bowl sees off-center loading, dynamic loading, repeated loading, small impacts, torque from asymmetric forces, and general handling disturbances. A structure that behaves perfectly under a centered static load can behave completely differently under all of that.
Which led to a broader principle: the prototype should reproduce the failure conditions you actually care about, not just the ideal condition you designed for. For Everbowl, that meant deliberately testing the conditions that made the design uncomfortable.
Prototype 3: testing the camera in its actual environment
The same idea showed up during camera integration. The ToF proximity sensor worked fine when we tested it in an open configuration, which could easily have been read as "the sensor works." But that wasn't really the question that mattered. The real question was whether the sensor still worked correctly once it was integrated into the actual enclosure.
Once it was enclosed, its behavior changed. The optical environment introduced its own variables: internal reflections, acrylic placement, air gaps, aperture geometry, surface finish, near-field reflections. The sensor hadn't gotten worse. The system around it had changed.
That's the whole point of getting the prototype question right. A sensor-only prototype tells you whether the sensor works. An integrated optical prototype tells you whether it works inside your actual product. Those are two different questions with two different answers.
From "does it work?" to "under what conditions does it work?"
One of the bigger improvements in how we prototyped was getting more precise about what "working" actually meant. A simple pass/fail test often hides the useful engineering information. We started thinking in terms of operating boundaries instead: minimum sensing distance, maximum sensing distance, off-axis behavior, repeatability, temperature effects, mechanical disturbances, assembly variation.
The goal became mapping the envelope of acceptable behavior, not just checking a box, and that turned out to be far more useful once we got to the final product.
The prototype should change the next design
A prototype has succeeded when its results change what you do next. If five prototypes get built and every subsequent design looks essentially the same, the team is probably producing hardware without generating much learning from it.
A few examples from Everbowl:
- Off-center bowl loads created larger mechanical moments, so we increased structural stiffness and improved the load path.
- Repeated screw assembly was damaging plastic threads, so we introduced threaded inserts at the serviceable joints.
- The ToF sensor got unstable behind an offset acrylic window, so we reduced the optical gap and controlled the internal reflections.
- A finish that looked good in CAD renders picked up visible handling marks fast, so we changed the finish strategy for high-contact surfaces.
Each of these mattered because the result removed a specific piece of uncertainty.
Engineering insight: A prototype's job isn't to prove the design is right. It's to find out what the design still doesn't know. That changes how you respond to a failure. A failed prototype isn't automatically a failed project. If the failure answered a real question, the prototype did exactly what it was supposed to.
Measuring learning per build
As the prototype count grows, it's worth tracking what's actually being learned. We used a rough internal measure: learning per build, or engineering questions answered divided by the number of prototype builds. It's not a formal industry metric, but it's a useful way to think about how efficient your iteration actually is. One build that answers three real questions can be worth more than three builds that only confirm cosmetic details.
For Everbowl, a prototype review would ask:
| Metric | Question |
|---|---|
| Prototype purpose | What were we trying to learn? |
| Questions answered | What did the build actually resolve? |
| Unexpected findings | What did we discover that we weren't looking for? |
| Design changes | What changed because of the result? |
| Remaining uncertainty | What still needs testing? |
That turns prototyping from a sequence of builds into something closer to a learning system.
Don't prototype everything at once
There's a natural pull toward making every new prototype more complete than the last. That sounds reasonable, but completeness also means changing more variables at once. Change the mechanical geometry, the PCB position, the sensor location, the fasteners, the material, the firmware, and the enclosure all between two builds, and if something improves, you genuinely won't know which change did it.
Focused prototypes avoid that trap. When you're validating mechanics, keep the mechanical variable dominant and hold everything else steady. When you're validating optics, simplify everything around the optical path. When you're validating manufacturing repeatability, use production-intent materials and processes. The more specific the question, the more useful the prototype actually is.
When prototypes became product decisions
The bigger shift happened once prototype findings stopped being treated as isolated test results and started actually shaping the architecture. A load-cell experiment could change the mechanical structure, which could change fastening, which could change assembly, which could change manufacturing. Optical testing could reach all the way back to enclosure geometry.
That's where prototyping turns into systems engineering. The prototype stops just validating one component and starts showing you how the components actually depend on each other.
From prototype quantity to prototype quality
There's no magic number of prototypes a product needs. Ten poorly targeted builds can teach you less than three carefully designed ones. The better question is how much uncertainty each build actually removed, and a good process aims for that instead of just counting prototypes.
For every planned build, it's worth asking what we don't know yet, and then what's the cheapest physical experiment that would answer it. Only after that should you decide what to actually manufacture. That matters even more with physical products, since every iteration eats material, fabrication time, engineering hours, and usually coordination across more than one team.
How this shows up at Hoomanely
At Hoomanely, a lot of the work is dealing with the gap between what we expect a system to do and what it actually does once it's physical. Building Everbowl reinforced that prototyping isn't about making increasingly polished versions of the same thing. It's about systematically cutting down uncertainty.
Whether we were looking at load-cell behavior, enclosure integration, optics, fastening, manufacturing, or how someone actually interacts with the product, the builds that mattered most were the ones with a clear question behind them. That's the standard we hold every physical iteration to now: build it to learn something, use what you learn to decide, and let each build make the next one more predictable.
Key takeaways
- Start every prototype with a question.
- A prototype doesn't need to look like the final product to be valuable.
- Separate mechanical, optical, electrical, and manufacturing questions whenever you can.
- Test the conditions that matter in real use, not just the ideal lab condition.
- Treat a failure as useful when it eliminates real uncertainty.
- Track what each build actually taught the team.
- A successful prototype should change the next design decision.
- The goal isn't more prototypes. It's learning more from each one.
Conclusion
The most useful question we learned to ask before building anything turned out to be simple: what are we actually testing? Once that becomes the starting point, prototypes stop being incomplete products and start being controlled experiments you can actually learn from.
For Everbowl, that meant a simplified load-cell assembly could teach us more than a fully assembled device, an exposed sensor could tell us less than the same sensor sitting inside its real enclosure, and a failed prototype could sometimes be worth more than a successful one.
A prototype earns its place the moment it changes what you actually know. Build every prototype around a specific piece of uncertainty, and the product doesn't just get more complete with each round. It gets more understood.